

The diaper snaps right to the top using the snaps already on the diaper and is held in place. For my few non snapping diapers, I also attached some binder clips which I just clipped to the edges of the Dummy so they weren't flopping around. And, of course, the handy jug handle is on the back.

I guess I'm crafty. I make my some of my cloth diapers, wool dryer balls, some of my clothes, and many other things. But, when I raided our recycling bin and sat down at the kitchen table with these supplies to started "creating," I'm fairly sure Hubby thought I'd gone more than a little crazy. I wouldn't tell him what I was making until it was done, so he kept an eye on the baby and baked a cake!
How I made my Diaper Dummy....
Supplies:
empty and clean plastic milk jug
empty and clean 1 liter pop bottle
some yarn, string or ribbon (2 feet should be plenty)
2 binder clips
scissors
hole punch
exacto knife or box cutter
snap pliers (with an awl to make small holes for the snaps, but I forgot to put it in the pic)
4 full sets of plastic Size 20, 4 piece snaps (This is the most common size used in cloth diapers. I used KAM snaps)

Cut the top off your milk jug and cut down the side directly opposite the handle.
****IMPORTANT**** Make sure you leave no rough edges and round off all corners! Always feel around every edge to make sure that there aren't any spots that could snag a diaper. Sand an edge down if you have to.

Cut off the bottom and about 2/3 of the sides so it will open up like this. (Save one of the side pieces for later.)

Use your hole punch to make a hole in the top right and left "shoulders." Careful not to place them too close to the edge.

Push the handle side in to form the bump that holds the diaper open. You may have to work at it a little to get the right shape. Tie your yarn in the first hole, thread binder clip on yarn, wrap around the handle once, thread on the other binder clip, pull very tight and tie in other hole. The string helps hold the Dummy in the proper shape.

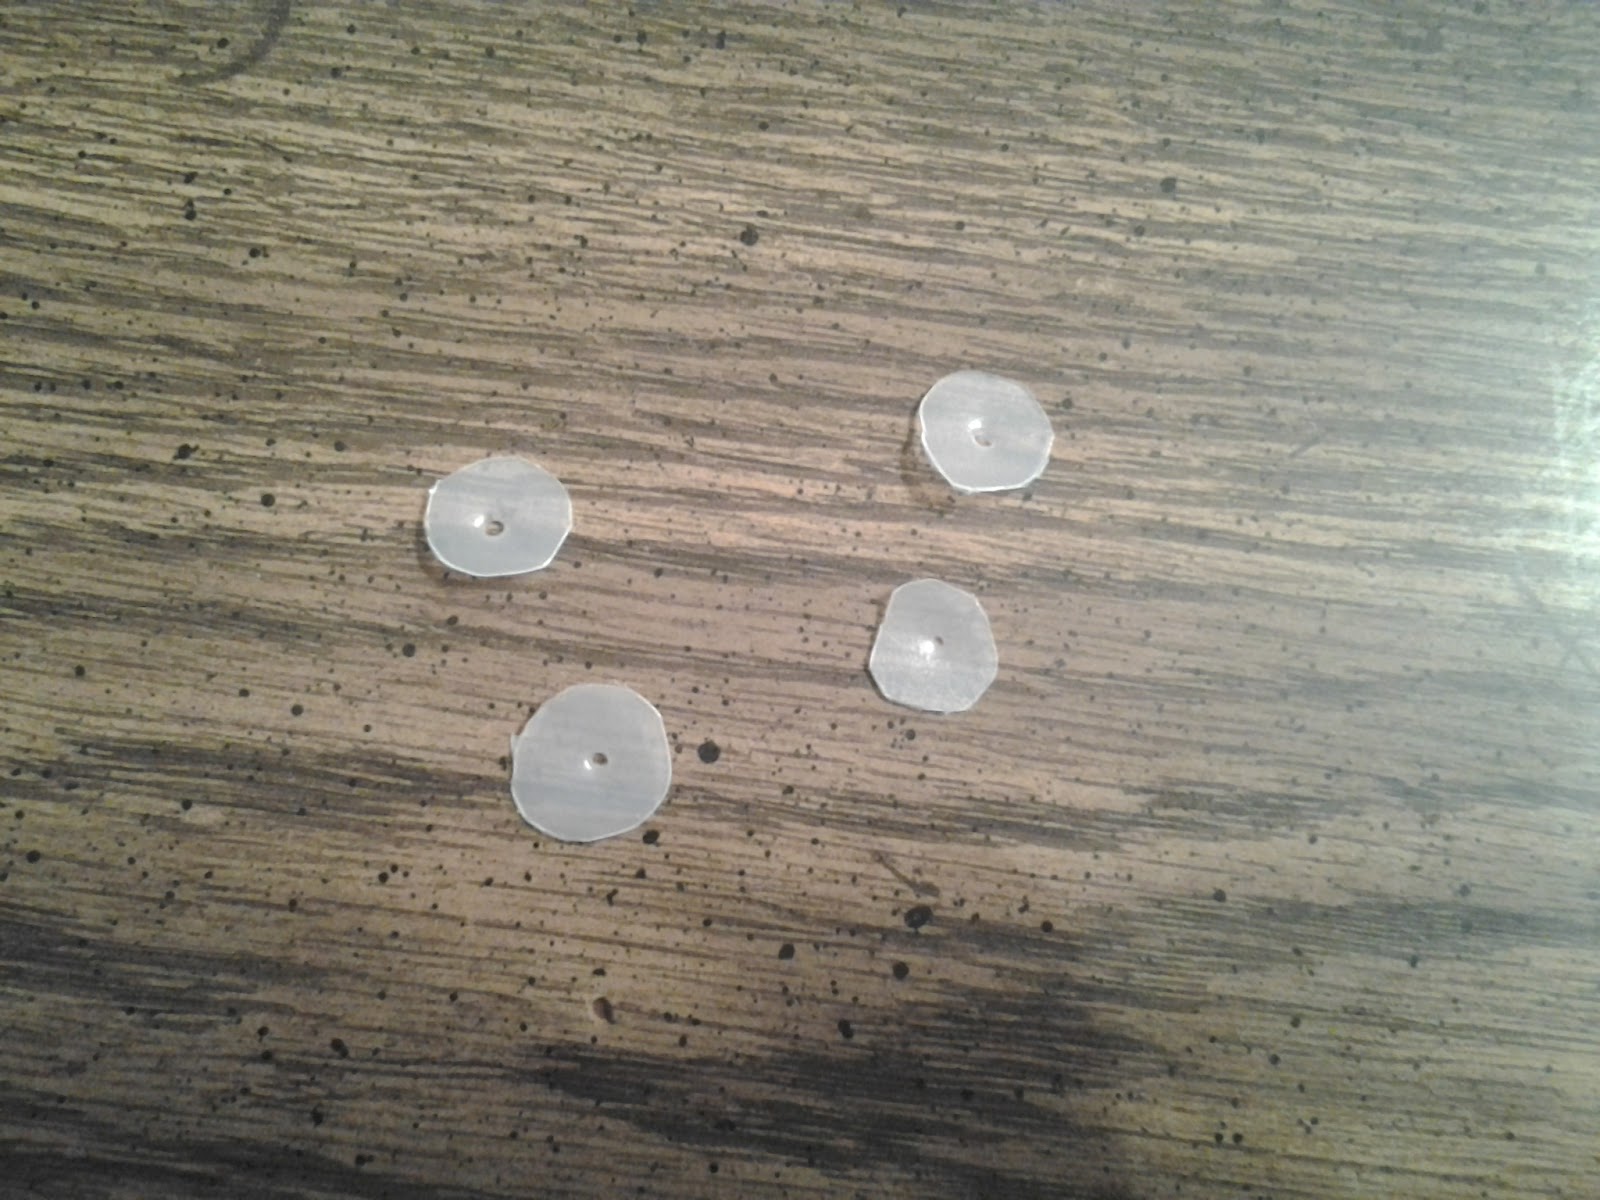
Now to add the snaps at the top that will be used to attach the diaper. These don't need exact placement, but you can match them up to your diapers if it helps. I put one stud and one socket on each side. This allows me to adjust the placement of the diaper by using any of the diaper snaps to attach it to the Dummy. Also, different kinds of diapers use different snap placements, and this way I know all my diapers will work. I cut 4 small circles from the extra piece of jug that I saved from earlier and used them to reinforce the snap attachments. They are snapped and unsnapped frequently and the plastic jug is a little flimsy. I put my snaps a little too far from the edge of the plastic and had a bit of trouble getting my snap pliers far enough in to attach them, so keep that in mind when punching the placement holes for the snaps with your awl.

The top portion of the Dummy is done! It could be used like this, but it's a little short. I added a "skirt" to make it longer. For this I cut the top and bottom off the 1 liter bottle and cut open one side. Round off all corners.

I opened this up and attached the curved side to the back of the Dummy using snaps. Take your time with the snaps and make sure they are facing the right way before attaching. I put them the wrong way on the bottom of the jug the first time. Yep, palm smacked forehead. Oops! It's not easy to remove snaps once they're attached, but I was able to fix it eventually without tearing the jug.

Using snaps to attach the skirt is nice because it's very secure and has a little flex. You could add a third snap in the middle if you don't want flex.
All done! I maybe spent 30 cents on supplies and it makes spraying off my diapers so much faster and less yucky.
Tips:
-An upside down ice cream pail lid works well to set the Dummy in when it's not being used. This will catch any drips.
-If all your diapers have snaps, you probably don't need the clips.
-If you have hook & loop diapers, you could attach some to the top instead of snaps or along with them. I would use the loop side of the tape on the Dummy and flip my diaper tabs around to attach. This would keep hooks from damaging other diapers.
-I used the box cutter to start a cut, then used the scissors to finnish, but you could probably get by with just the scissors.
-If you don't have a snap pliers, you could just use the clips at the top and tie the bottom piece on. But, the snaps really do make the Dummy so much more handy.
If you were wondering, Hubby figured out what it was in two guesses once I was done, and the cake he made was red velvet with cream cheese frosting. Also, not pretty (he didn't let it cool very much before frosting), but very tasty!

If you have any questions or would like to share any tips, please leave me a comment.
Happy spraying!
What a clever idea! Thanks for sharing!
ReplyDeleteJudy @ KAMsnaps.com
Thanks for the tutorial. My husband will probably look at me like I'm crazy too but I think he'll love this for spraying diapers. I love that it uses things I already have around the house!
ReplyDelete